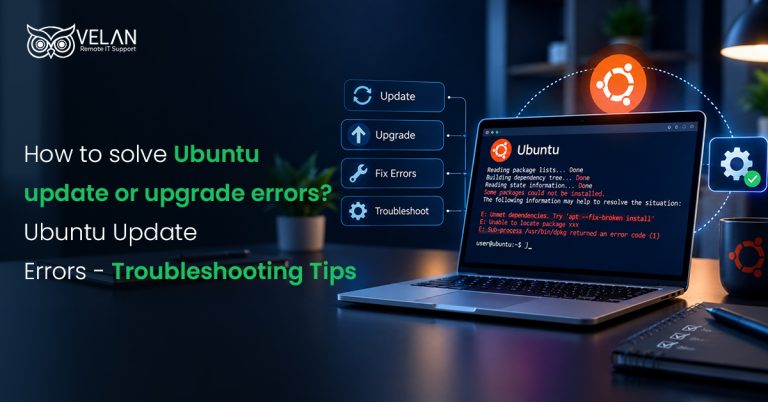
How to solve Ubuntu update or upgrade errors?
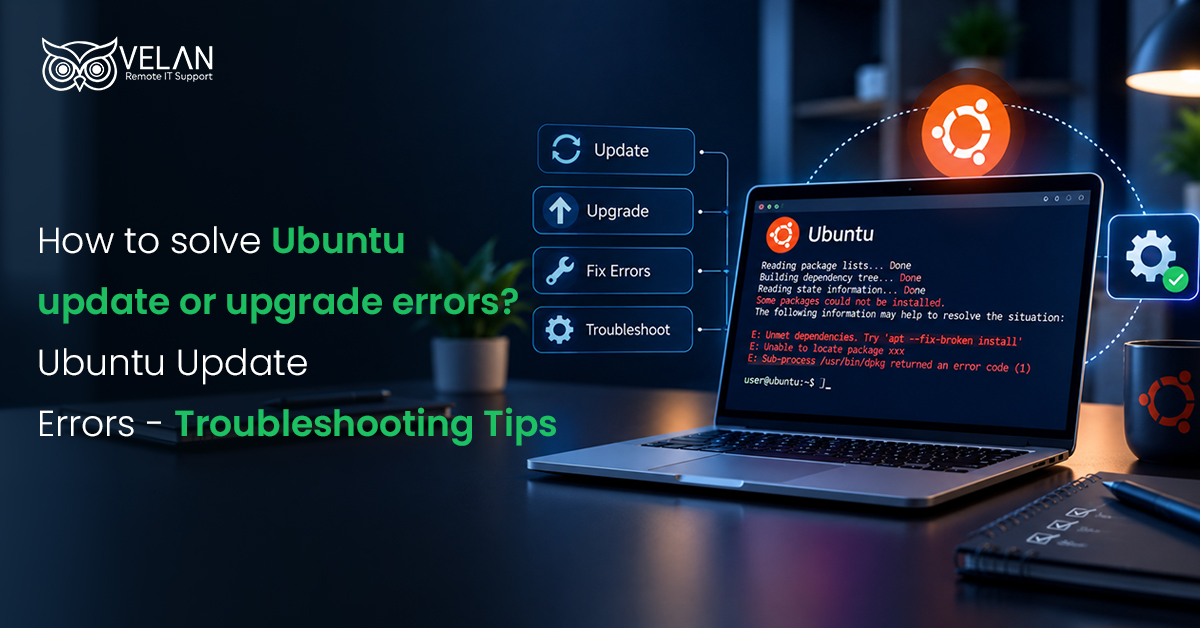
Ubuntu Update Errors – Troubleshooting Tips
What are the typical reasons for getting Ubuntu APT update and upgrade errors?
Ubuntu’s APT is a set of tools used to manage software packages on the OS. It enables Linux admins to do everything from installing and updating to upgrading and removing packages.
Sometimes errors occur when running Ubuntu upgrade commands.
General causes for Ubuntu upgrade errors
- Corrupted package indexes
- Unresolved dependency chains
- Stale lock files
- Insufficient disk space
- Partially configured packages from interrupted updates.
How can you troubleshoot Ubuntu update and upgrade errors?
Finding the reason behind an Ubuntu update or upgrade failure might be made easier by a methodical troubleshooting procedure. The right diagnostic steps can resolve common Ubuntu update and upgrade errors.
While using sudo apt-get upgrade, the package management tool conducts a dependency resolution check for the local package cache. If it is found to be stale or damaged or does not match the configured repositories, APT may fail to find a consistent set of packages.
For package management, APT uses dpkg. If an update gets interrupted, then dpkg may leave packages in a half-installed state or trigger awaiting. These unfinished packages make APT unable to continue with upgrades until those issues are resolved.
This article covers Ubuntu LTS update and upgrade troubleshooting, with major release upgrades:
- Ubuntu 20.04 LTS to 22.04 LTS
- Ubuntu 22.04 LTS to 24.04 LTS
- Ubuntu 24.04 LTS to 26.04 LTS.
Solution 1: How to update Ubuntu packages and perform a complete upgrade?
Step 1: Refresh the package index
Step 2:
“`bash
sudo apt-get update
sudo apt-get upgrade
“`
Step 3: For additional dependencies and to remove conflicting packages
“`bash
sudo apt-get dist-upgrade
“`
Understanding Ubuntu APT commands
- apt-get update – Used to download the latest package information available in the repositories.
- apt-get upgrade – Finds and installs the most recent versions of already installed packages.
- apt-get dist-upgrade – Installs new dependencies and removes obsolete packages.
Solution 2: How to Fix Broken or Unmet Dependencies in Ubuntu?
Step 1: Use the command
“`bash
sudo apt-get install -f
“`
Here -f tells APT to fix broken dependencies.
Step 2: Packages from third-party sources may need older or specific versions. These versions may conflict with newer versions in the official Ubuntu repositories.
You can identify these packages with:
“`bash
apt-cache policy <package_name>
dpkg -l | grep “^ii” | grep -v “^ii lib”
“`
Compare the candidate version with the installed version. It is possible that a pinned package has an out-of-date candidate version. You might need to uninstall a package if it creates conflicts.
Solution 3: How can you reconfigure partially installed packages using dpkg?
Step 1: To resolve ‘half-installed’ or ‘half-configured’ in the dpks’s state database.
“`bash
sudo dpkg –configure -a
“`
Step 2: Update the package index and enter
“`bash
sudo apt-get update && sudo apt-get upgrade
“`
Understanding the commands
- The -a flag means “all.” It tells dpkg to configure all packages that were left incomplete. This can fix errors such as:“`
- dpkg was interrupted, you must manually run ‘sudo dpkg –configure -a’ to correct the problem.“`
Solution 4: How can you remove stale lock files in Ubuntu?
Step 1: If a process holding a lock crashes or stops unexpectedly, the lock file may remain on the disk itself. APT commands may fail with the error message
“`
D: Could not get lock /var/lib/dpkg/lock-frontend – open (11: Resource temporarily unavailable)
“`
Step 2: Make sure that no process currently uses the file before removing it.
“`bash
sudo lsof /var/lib/dpkg/lock-frontend
sudo lsof /var/lib/dpkg/lock
sudo lsof /var/cache/apt/archives/lock
“`
Step 3: If there is no output, then you can remove the stale file using the command
“`bash
sudo rm /var/lib/dpkg/lock-frontend
sudo rm /var/lib/dpkg/lock
sudo rm /var/cache/apt/archives/lock
sudo dpkg –configure -a
sudo apt-get update
“`
Solution 5: How to clean disk space while Ubuntu upgrade?
Step 1: Verify current disk usage using the commands:
“`bash
df -h
“`
Step 2: Now, you need to check what elements are consuming space in `/boot`:
“`bash
du -sh /boot/*
ls /boot/vmlinuz-*
“`
Step 3: Systematic space recovery procedure:
“`bash
sudo apt-get autoremove –purge
sudo apt-get clean
sudo apt-get autoremove –purge
“`
Step 4: To manually remove old kernels, find currently running kernel:
“`bash
uname -r
“`
Step 5: Display the installed kernel list and remove old ones:
“`bash
dpkg -l ‘linux-image-*’ | grep ‘^ii’
sudo apt-get purge linux-image-X.X.X-XX-generic
“`
Replace the version string with the version of an older kernel. Be sure that you are not using the current kernel name.
Solution 6: How to empty APT cache and delete redundant packages?
Step 1: To remove orphaned packages and accumulated caches, use
“`bash
sudo apt-get autoremove
sudo apt-get autoclean
sudo apt-get clean
“`
Understanding the commands
- autoclean removes old .deb files. It keeps files for packages that are still available.
- clean removes all cached .deb files.
Solution 7: How to solve specific package conflicts manually?
Step 1: When apt-get upgrade shows conflicts with specific packages, use
“`bash
sudo apt-get upgrade –fix-missing
“`
With this, the APT skips packages that cannot be accessed while upgrading the rest. It can help when a single unavailable package is preventing the entire upgrade.
Step 2: A specific conflicting package can be removed and reinstalled using
“`bash
sudo apt-get remove –purge <package_name>
sudo apt-get install <package_name>
“`
Step 3: Generally, when APT encounters a conflict, the package name will be displayed in the error message. If you want to confirm the package name, use
“`bash
apt-cache show <package_name>
apt-cache depends <package_name>
apt-cache rdepends <package_name>
“`
Understanding the commands
- `–purge` with `remove` deletes package binaries as well as their configuration files.
- rdepends or reverse dependencies show which other installed packages depend on the package you are checking.
Solution 8: How to do a major version upgrade with do-release-upgrade?
Step 1: Using “apt-get dist-upgrade” alone is not sufficient for an Ubuntu major release upgrade.
Use this procedure
“`bash
sudo apt-get update
sudo apt-get dist-upgrade
sudo apt-get autoremove
sudo do-release-upgrade
Understanding the commands
- Running dist-upgrade before do-release-upgrade helps bring the current Ubuntu release to a clean and updated state. This can prevent held-back packages and unresolved dependencies from blocking the release upgrade.
Server considerations when using do-release-upgrade
If you run the upgrade on a server through SSH, use tmux or screen. This keeps the upgrade running if the SSH connection is lost.
Use -d only when upgrading to a development release. Do not use it on production servers.
The tool may ask you to review changes to configuration files. Review these changes carefully before choosing an option.
Step 2: Open a persistent session before the upgrade using
“`bash
tmux new -s upgrade
sudo do-release-upgrade
“`
Solution 9: How to fix third-party repository issues in Ubuntu upgrade?
Third-party PPAs or repositories can sometimes cause update errors such as
“`
D: The repository ‘http://ppa.launchpad.net/…’ does not have a release file.
“`
D: The repository ‘http://ppa.launchpad.net/…’ does not have a release file.
“`
Step 1: To get a list of all configured repositories:
“`bash
ls /etc/apt/sources.list.d/
cat /etc/apt/sources.list
“`
Disable PPAs
Before disabling a Personal Package Archive, make a backup of its repository file. Then comment out the PPA entry instead of deleting it. This lets you restore it after the upgrade.
You can list the PPA files with: ls /etc/apt/sources.list.d/
Step 2: To disable a PPA
Open .list file
Add # at the beginning of the repository line.
run sudo apt-get update
Step 3: After the Ubuntu upgrade is complete, check whether the PPA supports the new release. Re-enable it only if a compatible repository is available.
“`bash
sudo add-apt-repository –remove ppa:<ppa_name>/<ppa_name>
“`
Solution 10: How to solve process-level interference through rebooting?
Some update errors are caused by running processes rather than disk problems. For example, a service may be using a library that APT needs to replace. A kernel module may also conflict with a newly installed version.
Step 1:
“`bash
sudo reboot
“`
Step 2: After reboot, the system will be in a clean state, and you can try running the full update procedure.
“`bash
sudo apt-get update && sudo apt-get upgrade
“`
Step 3: If you are doing it on a remote server, then use `needrestart`. This is helpful to avoid a full system reboot by spotting the affected services that need restarting.
“`bash
sudo apt-get install needrestart
sudo needrestart
“`
Checklist to Avoid Ubuntu Update Errors – Best Practices to Follow
- Run sudo apt-get update && sudo apt-get upgrade at least once a week on production systems.
- Track /, /boot, and /var. Set an alert when disk space usage reaches around 85%.
- Review third-party Personal Package Archives before starting a major Ubuntu upgrade.
- Run major upgrades inside tmux or screen when working on remote systems.
- Take a full backup or system snapshot before running do-release-upgrade.
- Test the upgrade process in a staging environment before production systems.
For shared hosting environments and multi-tenant application servers:
- Maintain a documented upgrade runbook with pre-upgrade verification steps.
- Include clear rollback procedures in case the upgrade fails.
- Perform tests to confirm that services are working correctly.
Quick Overview
| Error Message | Primary Fix | Root Cause/Next Action |
| “404 Not Found” for package URLs | `apt-get update` | Stale package index |
| “Unmet dependencies” or “held broken packages” | `apt-get install -f` | Broken/unmet dependencies |
| Could not get lock /var/lib/dpkg/lock | Manually remove lock files | Stale lock file |
| No space left on device | Free space on root partition | Insufficient disk storage space |
| dpkg was interrupted | `dpkg –configure -a` | Package configured partially |
| Could not get lock | Check `lsof`, remove stale lock files | `dpkg –configure -a` |
| Unmet dependencies | `apt-get install -f` | `dpkg –configure -a` |
| No space left on device | `apt-get autoremove –purge && apt-get clean` | Remove old kernels manually |
| dpkg was interrupted | `dpkg –configure -a` | `apt-get update && apt-get upgrade` |
| “404 Not Found” for packages | `apt-get update` (check mirror availability) | Disable broken PPAs |
| held broken packages | `apt-get dist-upgrade –dry-run` | Reinstall or remove conflicting package |
| SSH drop during upgrade | Reconnect and attach to `tmux`/`screen` session | `dpkg –configure -a` if session was lost |
Questions and Answers About Ubuntu Upgrade/Update Error Solution
Your system has unresolved dependencies or packages.
Update the system and remove unused packages.
Check whether third-party PPAs are disabled or support the new Ubuntu release.
The required space depends on the packages installed on your system.
Keep at least 2–3 GB free on / and 200–300 MB free on /boot.
If space is limited, run sudo apt-get autoremove –purge followed by sudo apt-get clean.
Security fixes automatically install in the background without user interaction.
Non-security updates usually require manual approval or configuration changes.
Major OS versions never upgrade automatically.
Categories
- Applications 011